These instructions will guide you through the step-by-step process of installing the VMware Horizon Client on your device, ensuring a seamless setup for accessing your virtual desktop environment.
1. Download the VMware Horizon Client installer by clicking here: https://customerconnect.omnissa.com/downloads/info/slug/desktop_end_user_computing/vmware_horizon_clients/horizon_8
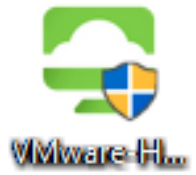
2. Double click on the VMware Horizon Client .exe file to launch the installation.
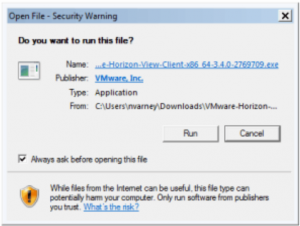
3. If a “Security Warning” window appears, click on the “Run” or “Yes” button.
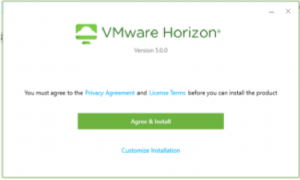
4. A normal application install window will appear. Click on the “Agree & Install” button.
5. Once the installation completes, click on the “Finish” button.

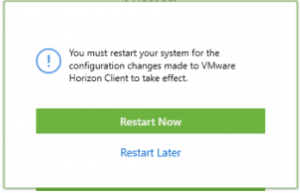
6. You will be prompted to restart your computer, click “Restart Now”.
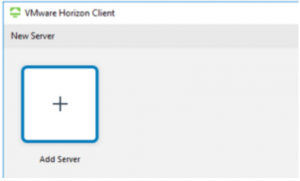
7. When you open up VMware Horizon Client click “New Server” or “Add Server.”
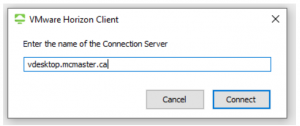
8. Type in vdesktop.mcmaster.ca and click “Connect”.
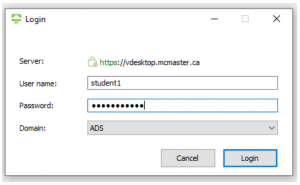
9. Login with your MacID.
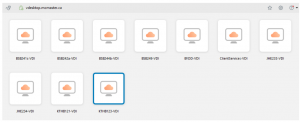
10. You will now be presented with a window containing the VDI pools you have access to.
